You found the perfect display case online. It looks great in the photos. You place the order, wait a few days, and when it arrives — your figurine does not fit. The case is 2cm too short and the lid will not close. Or worse, the case is way too big and your item looks lost inside a giant empty box.
This happens more often than you might think. Choosing the wrong display case size is the number one mistake collectors and shop owners make when buying display cases online. The good news is that it is completely avoidable once you know how to measure properly.
This guide will teach you exactly how to choose the right display case size for any item — whether it is a single figurine, a Lego set, a perfume bottle, or an entire retail product lineup. You will learn how to measure, how much clearance to leave, and which standard sizes work for the most common items.
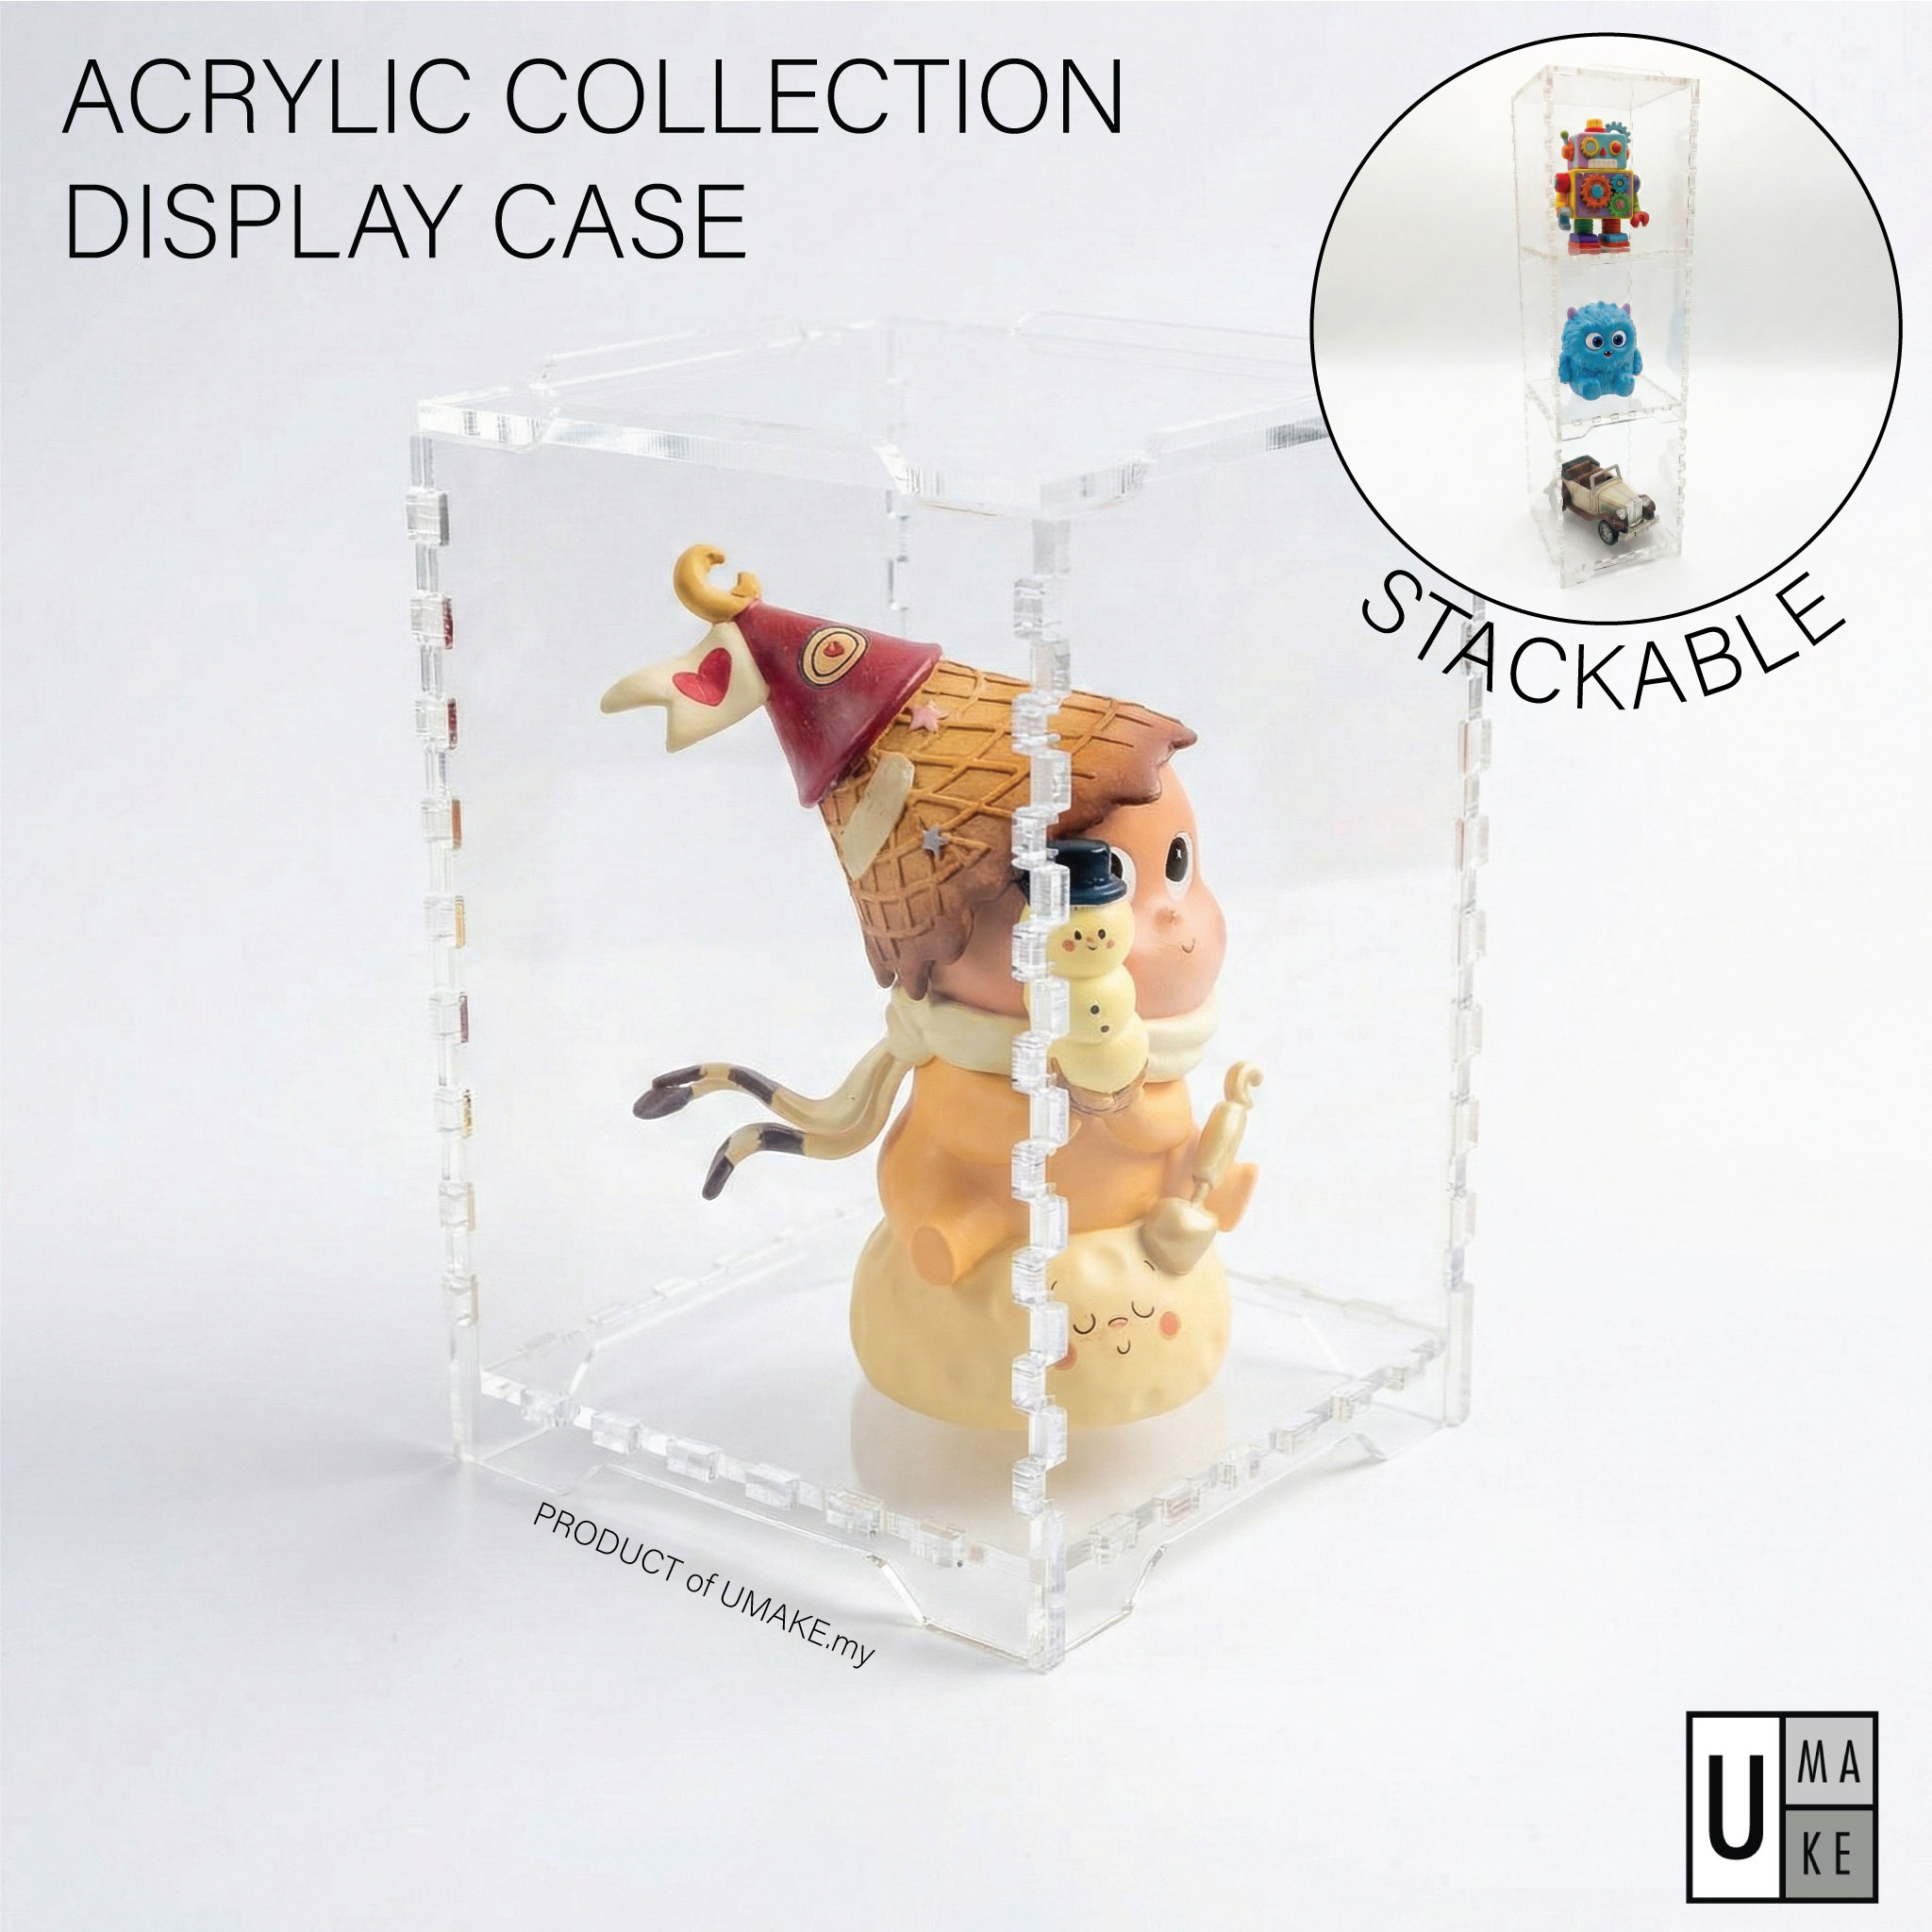
Why Display Case Size Matters More Than You Think
Getting the size right is not just about fitting the item inside. The right size affects how your item looks, how well it is protected, and even how long the display case itself lasts.
Too Small: The Obvious Problem
If the case is too small, your item simply will not fit. But there are more subtle issues too. A case that is only slightly too small — say, 5mm of clearance — makes it nearly impossible to place and remove items without scraping the sides. Over time, this scraping creates scratches on both your item and the acrylic. For delicate figurines with protruding swords, wings, or antennas, a tight case means those fragile parts get bent or snapped every time you open it.
Too Large: The Expensive Mistake
A case that is too large wastes money because you are paying for acrylic material you do not need. More importantly, your item looks underwhelming inside it. A small figurine inside a huge case looks like a lonely object in an empty room — it loses visual impact completely. Oversized cases also take up valuable shelf or desk space that could be used for other items in your collection.
Just Right: The Sweet Spot
The ideal display case gives your item enough room to breathe without making it look lost. There should be enough clearance to place and remove items easily, enough height so the lid or top panel does not touch the highest point of your item, and enough visual framing to make the item look intentionally displayed rather than randomly stored.
Think of it like framing a photo. Too much border and the photo looks tiny. Too little and the frame competes with the image. The right border width makes the photo look intentional and professional. Display cases work exactly the same way.
How to Measure Your Items: Step-by-Step
Before you can choose the right display case, you need accurate measurements of the item you want to display. Here is a simple step-by-step process that works for any item.
Step 1: Gather Your Tools
You only need two things:
- A ruler or measuring tape — in centimetres (cm) or millimetres (mm). Most display case makers in Malaysia use centimetres.
- A piece of paper and pen — to write down the measurements so you do not forget.
Step 2: Measure the Width
Place your item on a flat surface. Measure the widest point from left to right. For figurines, this is often the arms, weapon, or base plate — not the body. For Lego sets, measure the widest part of the model including any overhanging details. Write this down as your Width (W).
Step 3: Measure the Depth
Now measure from front to back at the deepest point. For items with a base, the base is usually the deepest part. For items without a base (like a model car), measure the longest dimension from front bumper to rear. Write this as your Depth (D).
Step 4: Measure the Height
Measure from the bottom of the base (or bottom of the item) to the very highest point. This is critical — many people measure to the head of a figurine but forget about the sword sticking up above it, or the antenna on a Gundam kit. Always measure to the absolute highest point, including accessories. Write this as your Height (H).
Step 5: Note Any Irregular Shapes
If your item has parts that stick out at odd angles — a cape flowing behind a figurine, a Lego spaceship wing extending sideways, or a dinosaur tail curving outward — measure those extensions separately. These protruding parts often determine the minimum case size, not the main body of the item.
Pro tip: If you are measuring for a case to hold an item you have not received yet (like a pre-ordered figure), check the manufacturer's specifications online. Most figure makers list the dimensions on the product page. Add 1-2cm to each dimension as a safety margin since manufacturers sometimes understate sizes.
Clearance Rules: How Much Space to Leave
Once you have your item measurements, you need to add clearance — extra space between your item and the walls of the display case. This is the most important step, and it is where most people get it wrong.
Here are our recommended clearance rules based on years of manufacturing display cases at UMAKE:
| Item Type | Side Clearance | Top Clearance | Why |
|---|---|---|---|
| Figurines (rarely moved) | 2-3cm | 3-5cm | Enough to lift the lid without hitting the item |
| Figurines (frequently handled) | 3-5cm | 5-7cm | Extra room for hands to reach in safely |
| Lego sets (permanent display) | 2-3cm | 2-4cm | Snug fit looks best, minimal handling |
| Retail products | 3-5cm | 5-8cm | Staff access products frequently |
| Model cars / diecast | 1-2cm | 2-3cm | Tight fit looks clean for cars |
| Perfume bottles | 2-3cm | 3-5cm | Space to grab the bottle easily |
The golden rule: When in doubt, add more top clearance. You can always add a small riser or platform inside the case to raise the item closer to the top if it looks too low. But if the case is too short, there is nothing you can do except buy a new one.
The Simple Formula
Here is the formula to calculate your ideal display case internal dimensions:
- Case Width = Item Width + (2 x Side Clearance)
- Case Depth = Item Depth + (2 x Side Clearance)
- Case Height = Item Height + Top Clearance
Example: You have a Gundam figure that measures 18cm wide, 12cm deep, and 22cm tall. You want 3cm side clearance and 5cm top clearance. Your ideal case: 24cm wide x 18cm deep x 27cm tall (internal dimensions).
Need help with how to choose display case size?
Get a free quote from UMAKE — custom signage designed and manufactured in Malaysia.
If you need help deciding on the right clearance for your specific item, read our complete acrylic display case guide which covers sizing for every common collectible type in detail.
Not Sure What Size You Need?
WhatsApp us a photo of your item with approximate measurements. Our team will recommend the perfect case size — no obligation, no charge for advice.
WhatsApp UMAKE for Sizing HelpStandard Display Case Sizes: Quick Reference Table
While UMAKE can manufacture custom display cases in any size, many items fit perfectly into standard sizes. Here is a quick reference table of the most popular standard display case sizes and what they are best suited for.
| Size Category | Internal Dimensions (cm) | Best For | Price Range (RM) |
|---|---|---|---|
| Extra Small | 10 x 10 x 10 | Single ring, small keychain, earrings | RM15 - RM25 |
| Small | 15 x 15 x 15 | Nendoroid, Funko POP (out of box), small perfume | RM25 - RM40 |
| Medium | 20 x 20 x 25 | Standard Gundam (HG/MG), Funko POP (in box), cosmetics set | RM40 - RM70 |
| Medium-Large | 25 x 25 x 35 | Hot Toys 1/6 scale, large Gundam (PG), tall perfume display | RM70 - RM120 |
| Large | 40 x 30 x 30 | Medium Lego sets, multi-item display, retail counter case | RM100 - RM180 |
| Extra Large | 60 x 40 x 40+ | Large Lego UCS sets, multi-figure showcase, retail display | RM150 - RM300+ |
Important note: These are internal dimensions (the space inside the case). The external dimensions will be slightly larger depending on the acrylic thickness. For example, a case made from 3mm acrylic will add 6mm to each dimension (3mm on each side). For 5mm acrylic, it adds 10mm. Always check whether a listing shows internal or external dimensions before you order.
Single Item vs Multiple Items: Layout Guide
Displaying a single item is straightforward — just follow the clearance rules above. But what about displaying multiple items together in one larger case? This is where layout planning becomes important.
Arranging Multiple Items in One Case
When placing several items together, you need to consider spacing between items as well as clearance from the case walls. Here are the key rules:
- Leave 3-5cm between items — This prevents items from visually competing with each other and makes each piece stand out individually.
- Place the tallest item at the back — This creates a natural visual hierarchy where nothing is hidden behind anything else.
- Use risers for depth — Acrylic risers or platforms at different heights create visual interest and let you display more items without the case looking crowded.
- Group by theme or colour — A case full of random items looks messy. Group similar items together for a curated, intentional look.
How to Calculate Case Size for Multiple Items
For a row of items side by side:
- Width = (Item 1 Width + Item 2 Width + ... ) + (3cm gap between each) + (2 x Side Clearance)
- Depth = Deepest item + (2 x Side Clearance)
- Height = Tallest item + Top Clearance
Example: You want to display 3 Nendoroid figures in a row. Each is about 10cm wide and 12cm tall. With 3cm gaps between figures and 2.5cm side clearance: Width = (10 + 10 + 10) + (3 + 3) + (2.5 + 2.5) = 41cm. Depth = 8cm + 5cm = 13cm. Height = 12cm + 5cm = 17cm.
Vertical Stacking with Risers
If you have limited horizontal space, use tiered risers inside a taller case to create multiple display levels. A 30cm tall case with two 10cm risers can effectively display items at three different heights — tripling your display capacity without increasing your shelf footprint.
This technique is especially popular for retail display cases where counter space is limited but you want to show many products to customers.
Common Sizing Mistakes to Avoid
After manufacturing thousands of display cases and hearing customer feedback, these are the six most common sizing mistakes we see. Avoid them and you will get the right case every time.
Mistake 1: Measuring Only the Body, Not the Accessories
A figurine might be 20cm to the top of the head, but the sword raised above adds another 5cm. A Gundam's V-fin antenna adds 2-3cm above the head. A Lego spaceship's engines or wings extend well beyond the main body. Always measure the absolute maximum dimensions including every protruding part.
Mistake 2: Confusing Internal and External Dimensions
This is the most expensive mistake. If a listing says "20 x 20 x 25cm" and you assume those are internal dimensions but they are actually external, your usable space is smaller by twice the acrylic thickness on each side. For a 5mm acrylic case, you lose 1cm of width and depth. It does not sound like much, but it can mean the difference between your item fitting or not.
Always ask the seller: "Are these internal or external dimensions?" At UMAKE, we always specify internal dimensions so what you order is exactly the space you get.
Mistake 3: Forgetting the Base Plate
Many figurines come with a circular or rectangular base plate. That base plate is often wider than the figure itself. If you measure the figure without including the base, you might order a case that the base does not fit into — even though the figure itself would fit fine.
Mistake 4: Not Accounting for Future Additions
If you are buying a display case for a collection that is still growing, consider getting a slightly larger case now rather than a perfectly-fitted one. This is especially true for collectible series — if you have 3 out of 5 figures in a set, get a case that fits all 5 so you do not need to buy a new case when the last two arrive.
Mistake 5: Ignoring Shelf or Desk Dimensions
You measured your item perfectly and ordered the right case — but forgot to measure the shelf where the case will sit. The case arrives and it is 2cm too deep for your bookshelf, or too tall and hits the shelf above. Always measure your available shelf space before ordering.
Mistake 6: Choosing Based on Price Instead of Fit
A cheaper, standard-size case that does not fit properly will make your item look bad and may not protect it adequately. It is better to invest a little more in a case that fits perfectly. At UMAKE, custom-sized cases are often only RM10-20 more than standard sizes, and the difference in how your collection looks is dramatic.
FAQ: Display Case Sizing
What clearance should I leave for figurines?
For figurines you rarely move, leave 2-3cm on each side and 3-5cm on top. For figurines you frequently take out to repose or photograph, increase side clearance to 3-5cm and top clearance to 5-7cm. The extra space gives your hands room to grip the figure without bumping it against the acrylic walls.
What is the difference between internal and external dimensions?
Internal dimensions measure the usable space inside the case — the actual room your item has. External dimensions measure the outside of the case including the acrylic walls. External dimensions are always larger than internal by twice the acrylic thickness on each side. For a 3mm acrylic case, external is 6mm larger per dimension. For 5mm acrylic, it is 10mm larger. At UMAKE, we always quote internal dimensions so you know exactly how much space you are getting.
How thick should the acrylic be for my display case?
For small cases up to 20cm in any dimension, 3mm acrylic is perfectly adequate — it is rigid enough and keeps costs down. For medium cases between 20-50cm, 5mm acrylic provides better structural rigidity and looks more substantial. For large cases over 50cm or cases that need to bear weight (like tiered displays with heavy items), 8mm acrylic is recommended to prevent bowing or flexing of the panels.
What standard display case sizes are available?
The most commonly stocked sizes are: 10x10x10cm (extra small), 15x15x15cm (small), 20x20x25cm (medium), 25x25x35cm (medium-large), 40x30x30cm (large), and 60x40x40cm (extra large). These standard sizes cover most collectible items. If your item falls between two standard sizes, choose the larger one or order a custom-sized case for a perfect fit. UMAKE can laser-cut to any dimension you need.
Shop UMAKE Display Cases
Whether you need a standard size or a custom-cut case for that oddly-shaped collectible, UMAKE manufactures all display cases in our own factory in Balakong, Selangor. We laser-cut to 0.1mm precision — so every case fits exactly as intended.
Here are some of our most popular display cases:
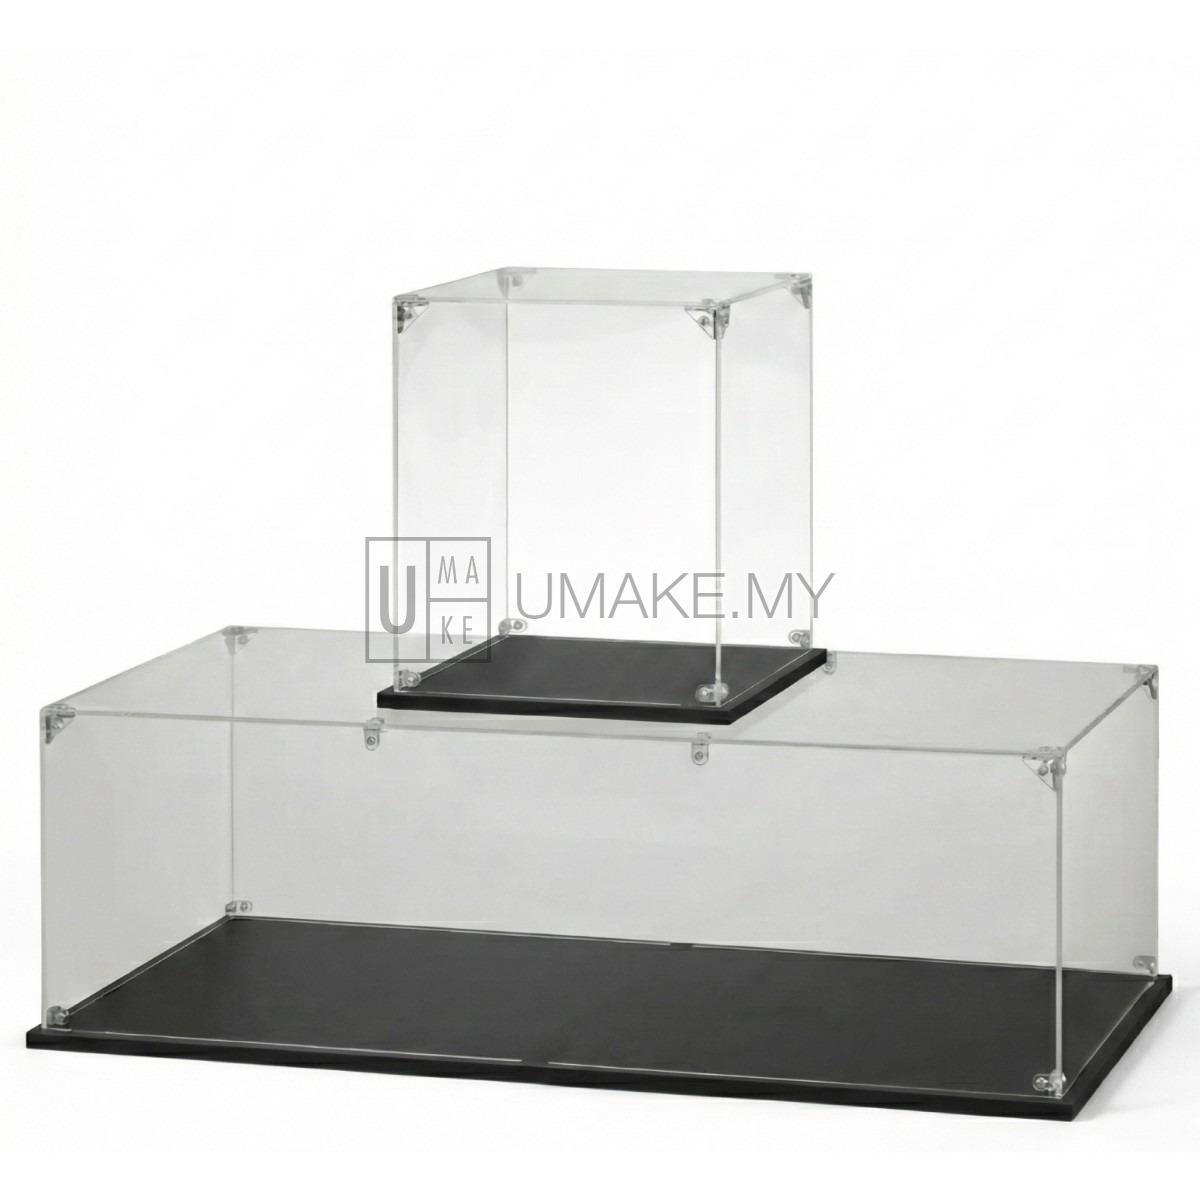
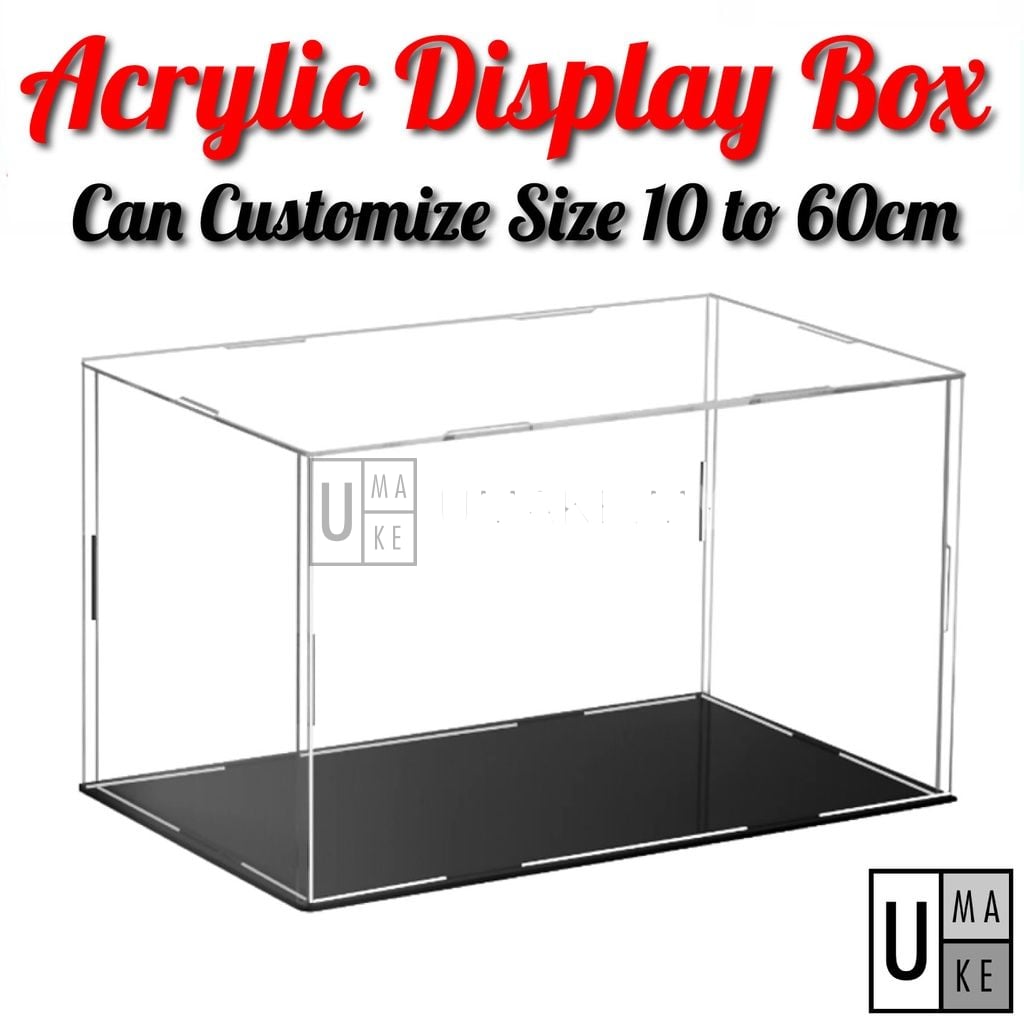
Browse All Display Cases → WhatsApp for Sizing Help
Related Articles You Might Like
- Acrylic Display Case Malaysia: Custom Sizes, Dustproof & Stackable Options
- Where to Find Custom Display Case in Kuala Lumpur & Selangor
- Best Display Cases for Collectible Items in Malaysia
- Acrylic vs Glass Display Case: Which Is More Durable?
- How to Clean Acrylic Display Case: Easy Step-by-Step Guide


